Replacement Computer Fan Shroud for March
Author: Gregory Doran
Published: 26th April 2021
Problem
A recent upgrade to my PC prompted me with a problem. My computer case is a Fractal Design Node 202 , which is small form factor but can pack a decent Mini ITX motherboard, SFX power supply unit and a full sized graphics card. It powers VR gaming and takes up far less desk space than a lot of other cases.
My recent upgrade included a beefier processor and I already had a Gelid Solutions SlimHero which could be adapted to fit the AM4 CPU, however the height was somehow a few millimeters higher than my existing one. As a result it was making contact with the case's 120mm fan shroud. The SlimHero a is fantastically quiet and efficient cooler so rather than replacing it I printed a thinner shroud with dust protective mesh.
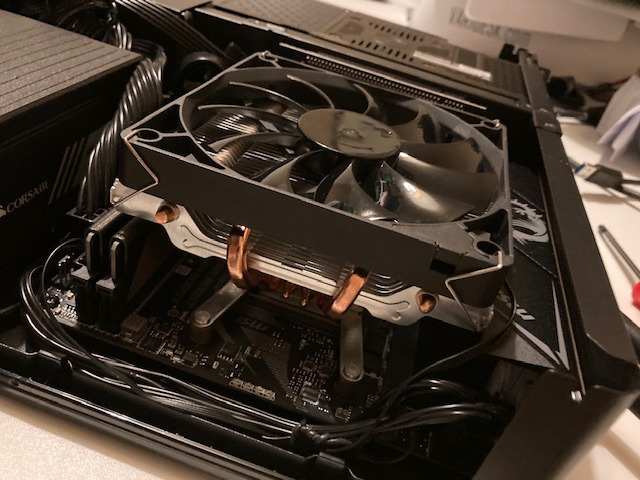
The Gelid Solutions SlimHero on the newer motherboard and CPU.
There was just enough space to close the lid on the case without the factory shroud but without it there is a risk of dust degrading the performance of the cooler.
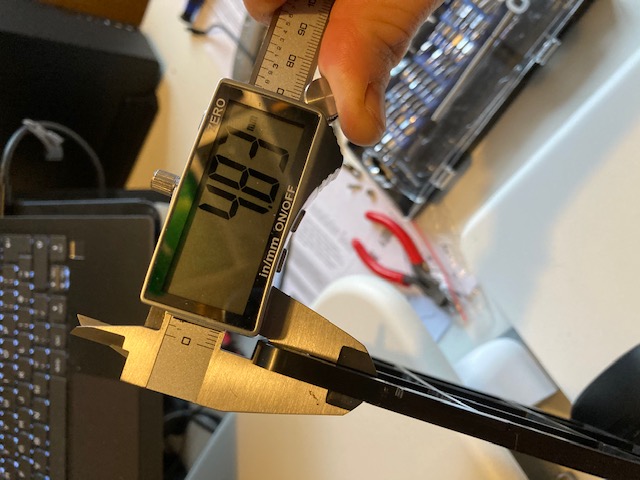
The replacement needed to be 2-3mm thinner than the existing one.
The original also has two clips which needed to be removed and the new shroud would need to fit a different way.
Solution
The original design was 5mm thick so I attempted to copy the design fairly closely and, instead of having clips to attach it to the case, added space for 2 small Neodymium magnets that would lock it to the steel of the case.
It was easy to create in Autodesk Fusion 360 and in under an hour it was printing on my Prusa i3 Mk3.
If by any chance you are in the same situation you can download my STL files here .
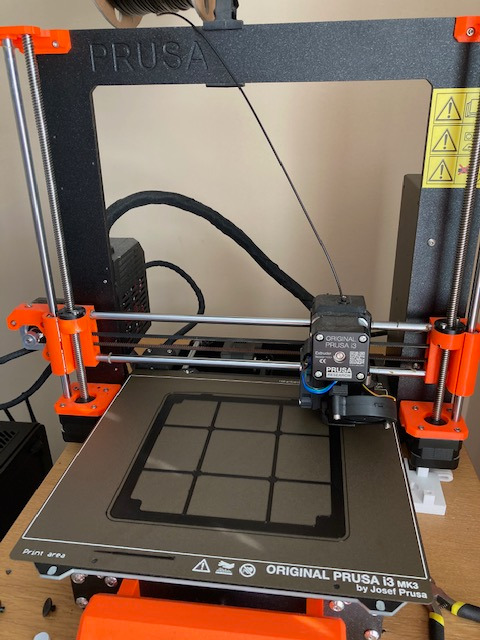
Prusa i3 Mk3 printing the replacement shroud in this case using black PLA.
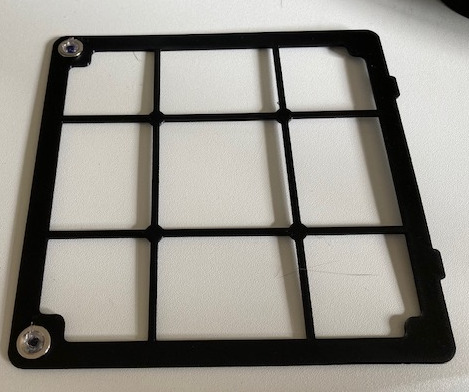
A glue gun was used to hold the two Neodymium magnets in place.
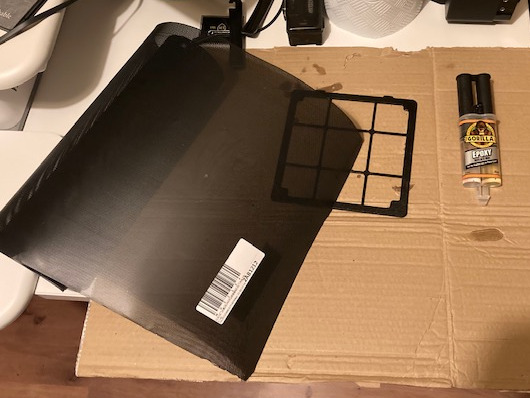
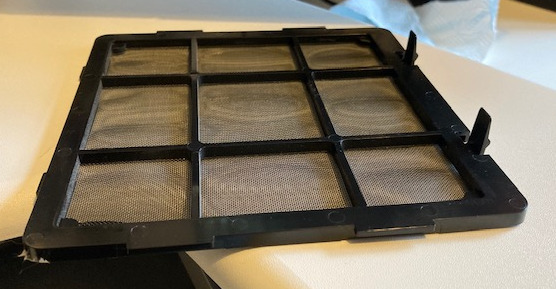
Epoxy was used to fix the mesh material to the printed frame. This shows a material I used on a newer version of this which is a nicer black. Presure must be applied while the epoxy is setting.
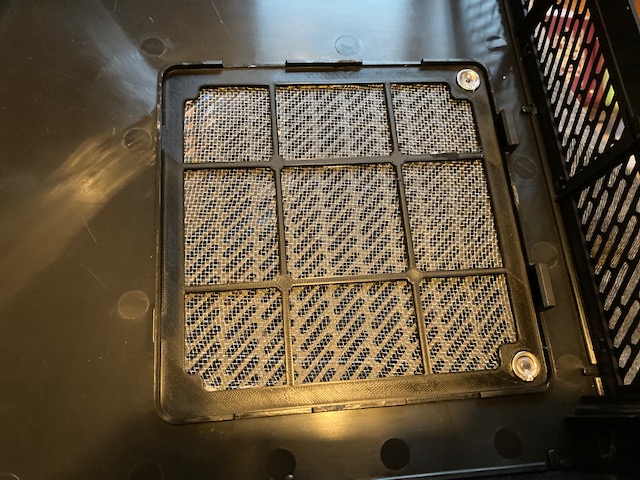
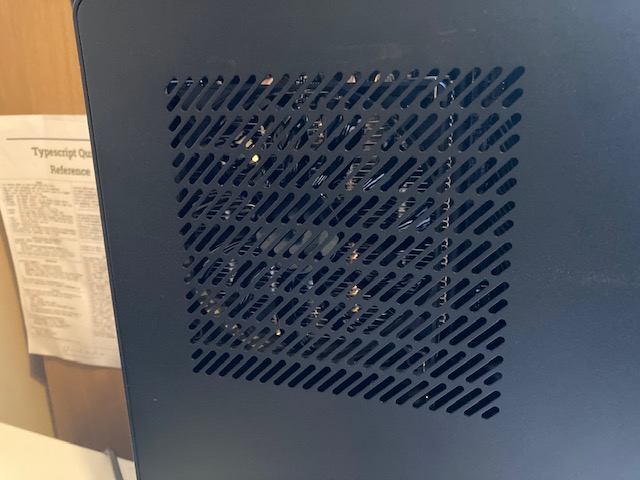
The fan shroud fitted to the case.
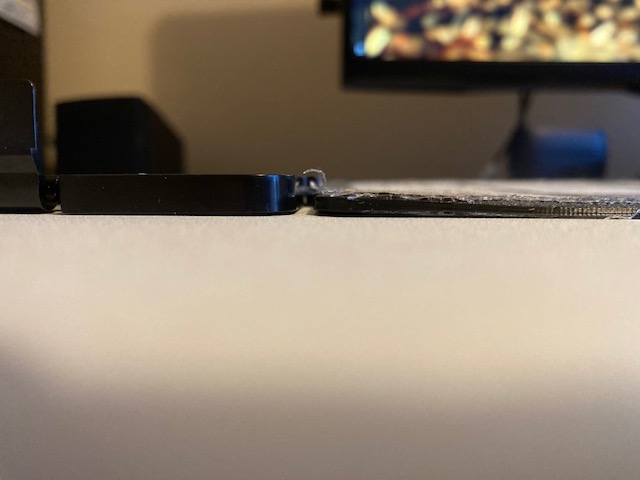
The new fan shroud is now sufficiently thin and missing the clips that were on the original one.
Conclusions
The new shroud fits well and the magnets seem to hold really well. I was a little concerned about the magnets fixing to the wrong thing or giving some interference but so far so good. Biggest issue was that there was no nice way to push the mesh onto the printed frame and apply the epoxy without the epoxy sticking to whatever applies the pressure on it. I tried icing sugar thinking that it would dissolve but it just made the epoxy white!
If you also have the combination of a Node 202 case, Gelid Solutions SlimHero are finding the clearance issue I have you're welcome to download the STL files here and if you found it useful please let me know .